Professional PPF installs keep getting more expensive, so more owners are asking whether they can do it themselves. They can, with the right kit. Your result depends far more on the kit’s design and the film itself than on being a professional installer. This is how to tell a good kit from one that will ruin your weekend.
Why DIY PPF took off
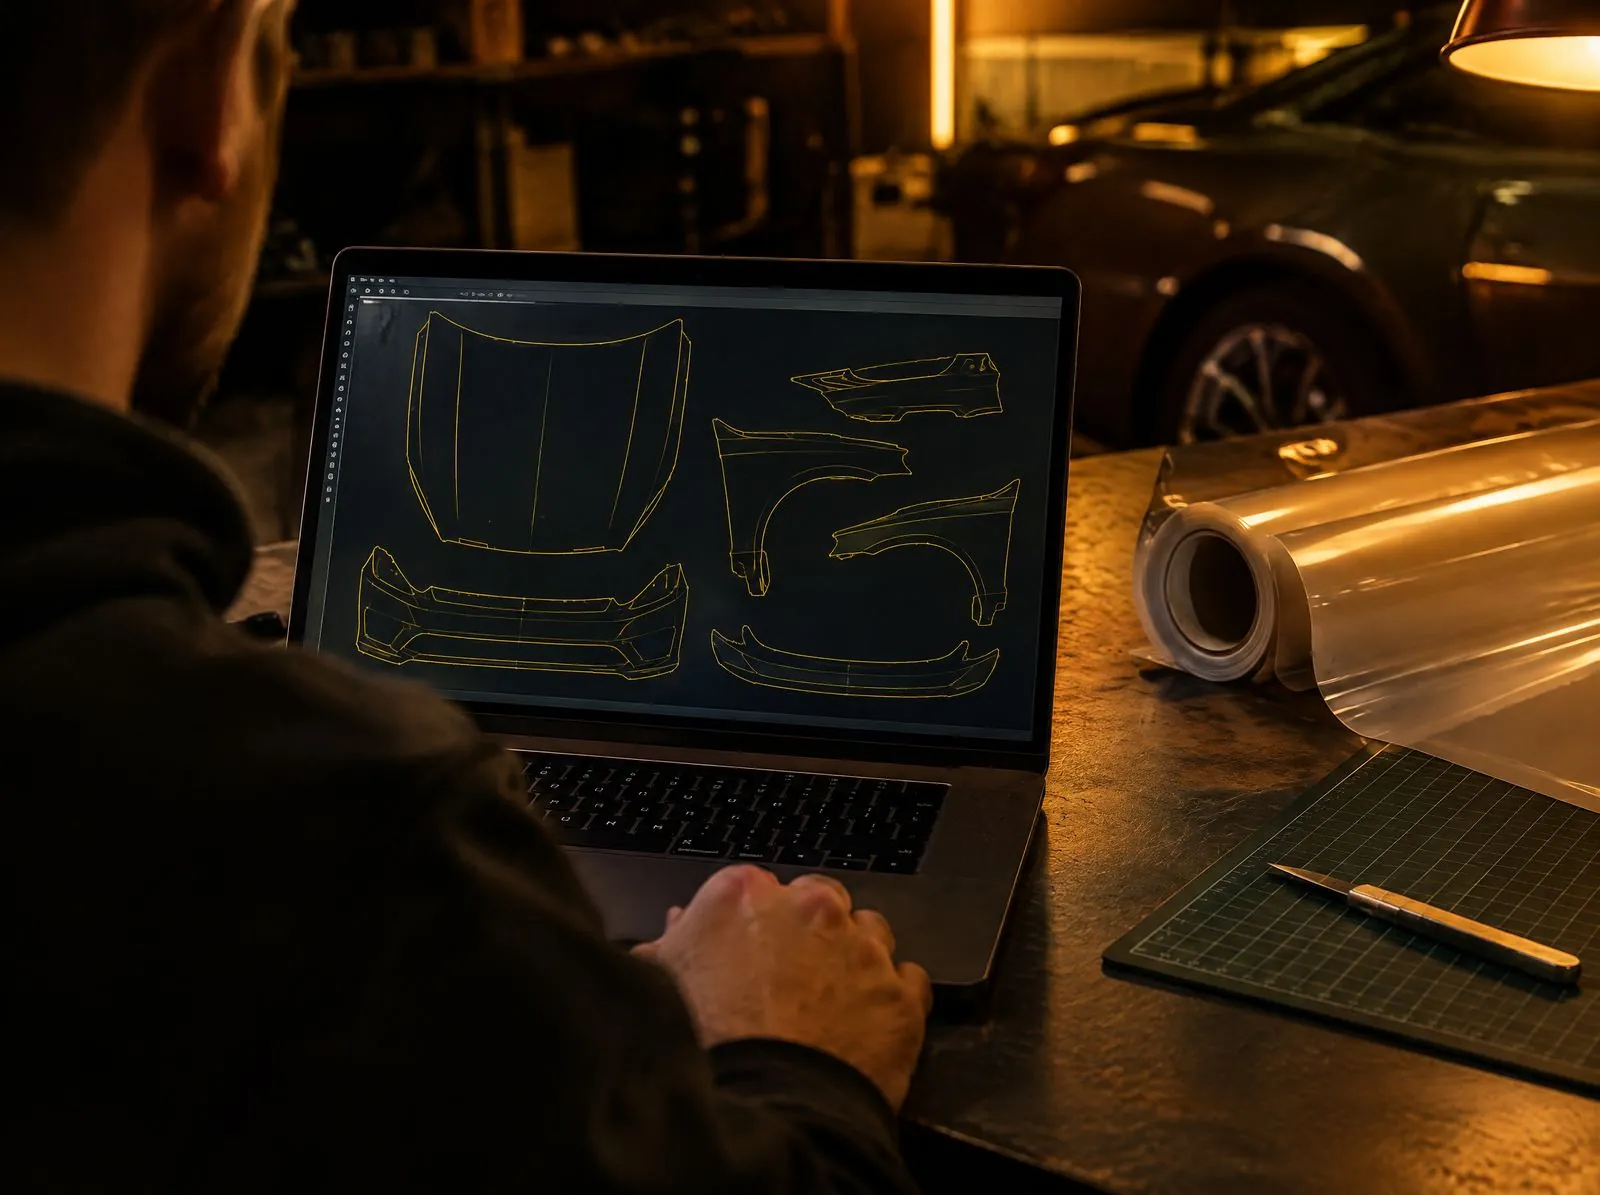
DIY film used to mean buying a bulk roll and cutting everything yourself, with real risk of wasting film or slicing into your paint. Today’s kits are cut by plotter from digital patterns made for specific vehicles, with clean edges and no trimming on the car. Add rising shop prices and good tutorials, and DIY went from niche to normal.
What makes a kit good for DIY
1. Pre-cut accuracy
This is non-negotiable. Pieces should be cut for your exact vehicle, down to the year and trim, so nothing is trimmed on the car and no blade touches your paint. Body styles change more often than people think, and a pattern for the wrong bumper is useless. If a kit needs heavy trimming, it isn’t a beginner kit.
2. Film quality
Look for a self-healing top coat, high clarity with no haze, UV stability and an adhesive that holds without being impossible to reposition. Cheap film scratches, yellows and fails early, and you’ll end up doing the job twice.
3. Install-friendly patterns
Good patterns minimize stretching, line up with obvious body lines and include relief cuts where the film needs to bend around a curve. Edges should stop just shy of panel edges so they don’t catch, unless the pattern is designed to wrap.
4. Instructions and support
Labeled pieces, clear instructions and someone to ask when you get stuck make a huge difference on a first install. Before you buy, check whether you can actually reach a person.
Film specs, decoded
| Spec | What it means | What to look for |
|---|---|---|
| Thickness | Measured in mil (thousandths of an inch) | Around 6 to 10 mil; 8 mil is a solid all-round choice |
| Top coat | The surface layer that heals and resists stains | Self-healing with heat |
| Clarity | How invisible the film is on the paint | No haze, minimal “orange peel” texture |
| Warranty | The film maker’s durability promise | Typically five years or more against yellowing, cracking and peeling |
| Finish | Gloss, matte or satin | Gloss keeps the factory look; matte changes it |
Types of DIY kit
| Type | What it is | Best for |
|---|---|---|
| Pre-cut, vehicle-specific | Cut on a plotter for your make, model and year | Beginners and most owners |
| Universal | Generic shapes with loose fitment | Rarely worth it |
| Bulk film | Raw film you cut yourself | Experienced installers only |
What should come in the box
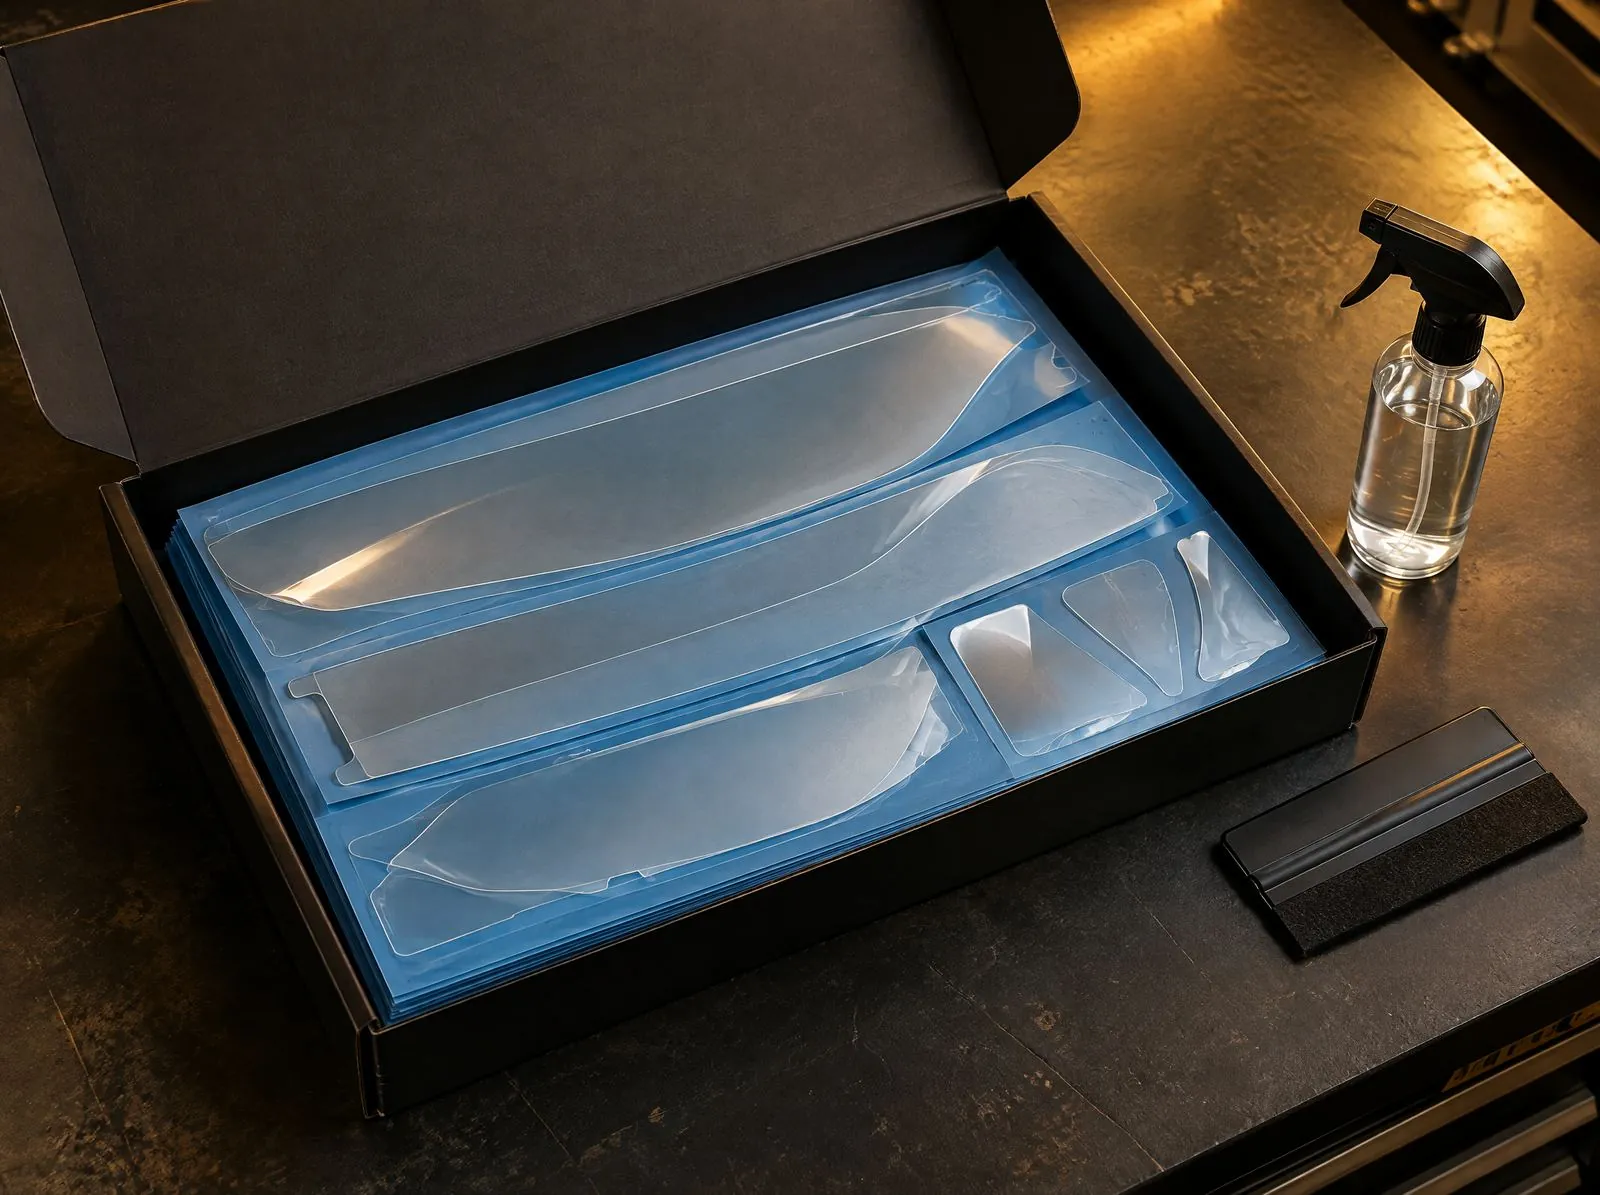
- Every piece for the coverage you ordered, labeled so you know where it goes
- Installation guidance, ideally specific to the pieces in your kit
- Packaging that keeps the film flat or rolled, never folded or creased
- A clear answer about what’s included and what isn’t, before you pay
Tools are often sold separately, and that’s fine. You need a spray bottle or two, a proper squeegee, clean microfibre towels and good light. Preparation matters far more than fancy tools.
How to find your exact year and trim
Fitment depends on details owners don’t always know off the top of their head. Before you order any kit, take two minutes to confirm:
- Model year: on your ownership or registration papers, or encoded in your VIN
- Trim: often on the original window sticker or bill of sale, or visible as badging on the car
- Body changes: refreshed front ends, sport bumpers, aftermarket parts, tow hitches or wraps
- Photos: a clear shot of the front and side of the car answers most fitment questions instantly
A good seller will ask for this before taking your money. If they don’t, be careful.
Red flags
- No question about your year or trim before selling you a kit
- Prices that seem too good to be true for full coverage
- No information about the film itself
- Photos that only show the film from far away
- No way to contact anyone after you’ve paid
So which kit is best?
Rather than chase a brand, match the kit to your situation.
- Best overall: pre-cut for your exact vehicle, consistent edges, minimal stretching. Right for first-timers and daily drivers.
- Best on a budget: still pre-cut, focused on the high-impact areas: front of the hood, fenders, headlights and mirrors. Skip very cheap kits with no information.
- Best premium: top-tier film with better clarity, stronger self-healing and longer life. Worth it on new, high-value or long-term cars.
- Best for beginners: simple layouts with clear alignment points. Start with partial-front coverage and flatter panels, not a full body.
Mistakes when choosing a kit
- Choosing on price alone
- Ignoring exact fitment for your year and trim
- Overestimating what you can do on a first install
- Not checking what’s included before paying
What it costs
Partial-front kits sit in the few-hundred-dollar range, full-front kits in the mid range and full-body kits well above that. KitCutz Silver starts at $499 CAD, Gold at $699 and Platinum at $1,799, with the exact price confirmed after we check fitment for your car. Compared with a shop install, DIY commonly saves well over a thousand dollars on a full front.
How KitCutz kits are set up
For transparency: our kits are pre-cut for your exact vehicle using 8-mil TPU film with a self-healing top coat. You tell us what you drive, we confirm the pattern and the final price, and you pay only after fitment is confirmed. That process exists because the most expensive mistake in DIY film is a kit cut for the wrong car.
Questions to ask before you buy
- Is this kit cut for my exact year and trim?
- What film is it, and what does the film maker’s warranty cover?
- Which pieces are included, panel by panel?
- How is the kit shipped, and will the film arrive flat or rolled?
- Who do I contact if a piece doesn’t look right?
Is DIY worth it?
Yes, with a quality pre-cut kit, patience and the right steps. No, with a cheap, poorly designed kit, a rushed job or an expectation of instant perfection. A sensible way to start is headlights, mirrors and a partial hood, then build up as your confidence grows. Before you start, read how to prepare your car and the mistakes to avoid.
Quick answers
What thickness of PPF is best for DIY?
Around 8 mil is a good balance. It’s thick enough to absorb chips and still flexible enough to work around curves with a little heat.
Do I need special tools to install a PPF kit?
Not many. Two spray bottles, a PPF squeegee, clean microfibre towels and good light cover most installs. A heat gun on low helps with curves.
Can a beginner install a full-body PPF kit?
It’s possible but ambitious. Most people do better starting with a partial or full front, then adding more once they know how the film behaves.
Find the right kit for your Tesla
Every KitCutz kit is pre-cut for your exact year and trim, and fitment is verified before you pay. Silver starts at $499 CAD, Gold at $699 and Platinum at $1,799.
Weighing up DIY kits? See how KitCutz compares.