A DIY kit can give you years of protection for a fraction of a shop install. It also rewards patience and punishes shortcuts. These are the five mistakes that cause most of the problems people run into, plus a few smaller ones, and what to do if one has already happened.
1:Rushing the prep
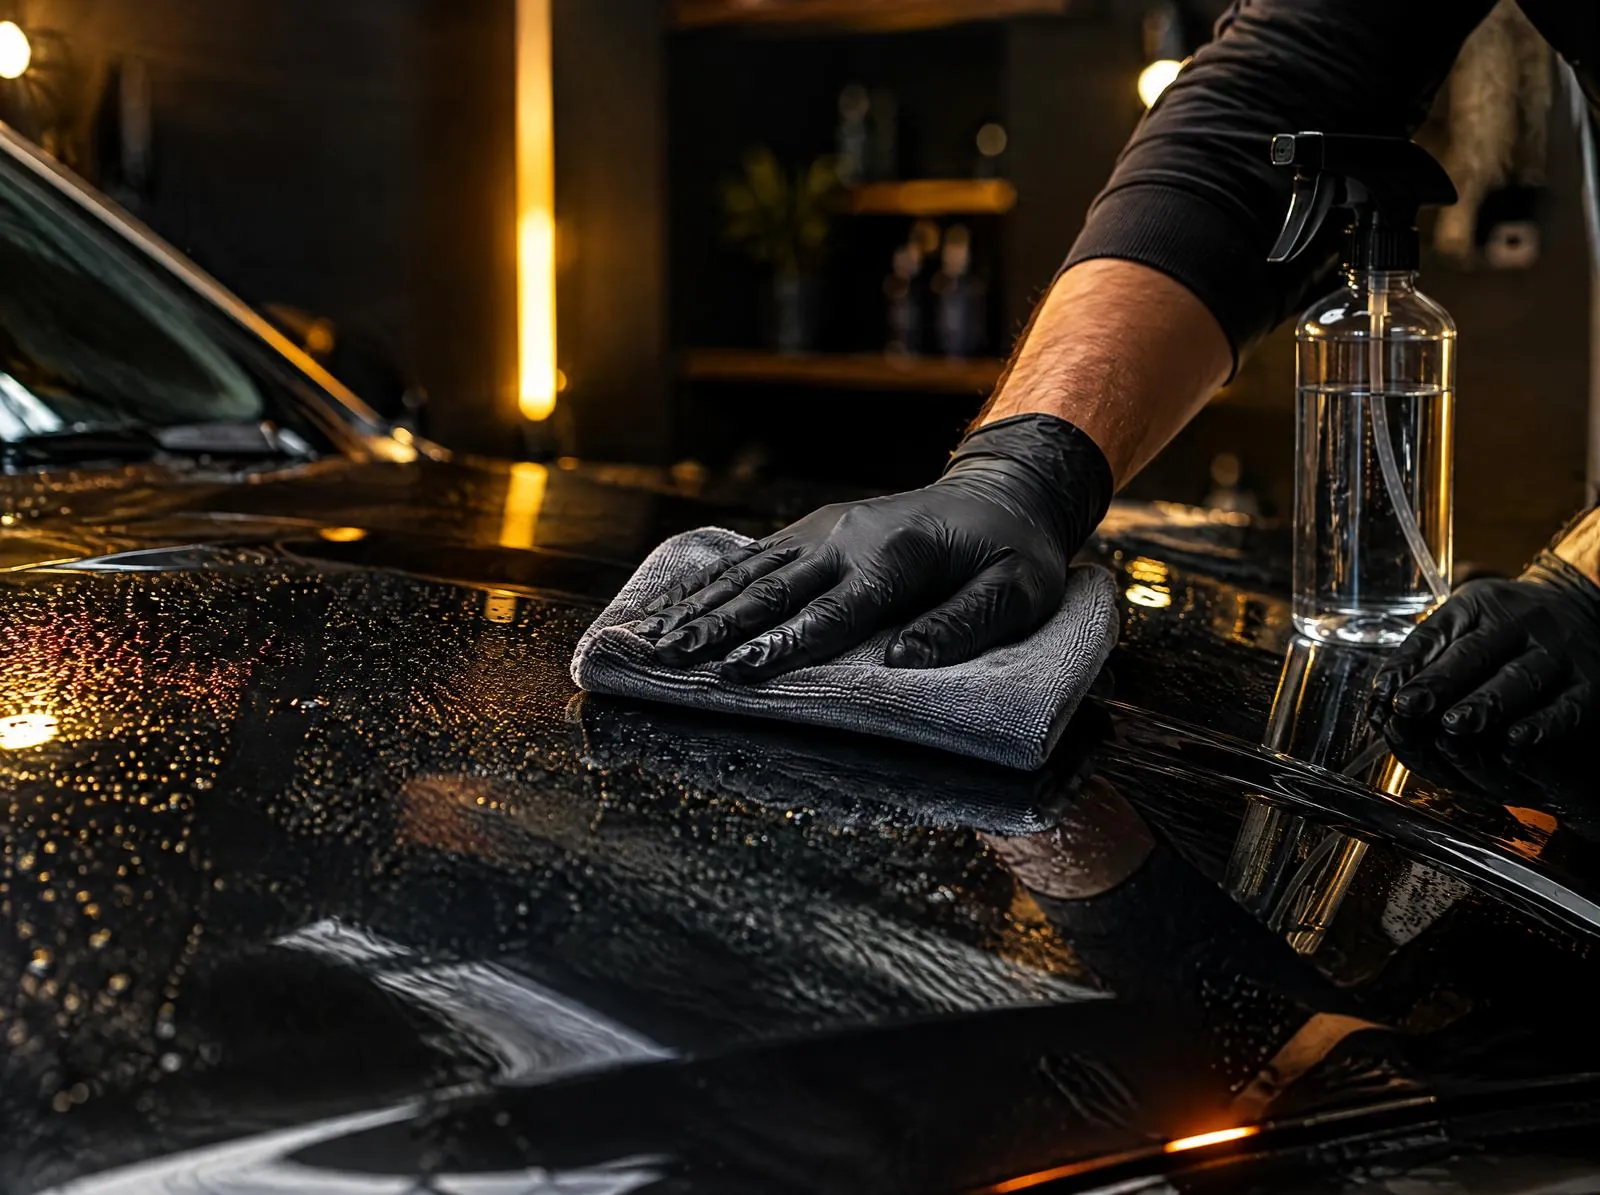
This is the big one. Anything left on the paint ends up sealed under the film. A grain of grit becomes a permanent bump. Wax, sealant or old coating residue stops the adhesive bonding properly, which shows up weeks later as lifting edges. Prep is boring, and it decides more of the final result than any squeegee technique.
- Wash with a pH-neutral car shampoo, including panel gaps and around badges
- Decontaminate with a clay bar or clay mitt so the paint feels glass-smooth
- Wipe down with a mix of roughly half isopropyl alcohol and half distilled water to strip leftover wax or oils
- Run your fingertips (or your hand inside a thin plastic sandwich bag) across the panel. If it feels gritty, it isn’t ready
Our full checklist is in How to Prepare Your Car for a DIY PPF Installation.
If it’s already happened
A small speck under the film is usually cosmetic. If an edge is lifting because of wax underneath, that piece normally needs to come off, the panel cleaned properly, and a new piece installed.
2:Mixing up slip and tack solution, or skipping them
You need two separate sprays, and they do opposite jobs.
- Slip solution: distilled water with a few drops of baby shampoo. It lets the film float so you can slide it into position.
- Tack solution: distilled water with isopropyl alcohol. It helps edges and curves grab once a piece is lined up.
Mix both before you start and label the bottles clearly. Grabbing the wrong one is easy when your hands are wet and you’re holding a piece of film. Use distilled water if you can; hard tap water can leave mineral spots under the film. And if the film grabs too early, lift it, spray more slip solution underneath and try again. Never force it.
3:Using the wrong tools
Your hands can’t push water out evenly, and improvised tools like credit cards can scratch the film’s top coat. You don’t need much, but what you use should be made for the job.
- A proper PPF squeegee with a soft or felt edge
- Clean microfibre towels, more than you think you’ll need
- Two clearly labeled spray bottles
- A heat gun or hair dryer on low, for helping film around curves
- Good light. A bright LED work light held at a low angle shows bubbles and dust that overhead light hides
4:Rushing the install itself
Speed causes most of the visible flaws: trapped bubbles, water streaks that show as the film dries, distortion from over-stretching and crooked edges that are hard to fix once the adhesive grabs. The film is more forgiving than it looks, as long as you keep it wet and keep it moving slowly.
- Give yourself a couple of hours per larger panel the first time
- Work one piece at a time and keep the rest on their liners
- Squeegee from the center outward with overlapping strokes
- Re-spray slip solution whenever the film starts to stick before it’s aligned
- Start with flatter pieces before mirrors and bumpers
A word on stretching: a little gentle stretch with heat helps film follow a curve. Too much leaves the film thin and under tension, and that tension is what pulls edges up later. If a piece needs to be forced to fit, something is off. Check that it’s the right piece and the right way round.
5:Getting aftercare wrong
The first days matter. The adhesive is still bonding and the last of the water is still working its way out. Washing too early can lift edges, and harsh chemicals can damage the self-healing top coat.
- Wait at least 48 hours before washing, longer in cool or damp weather
- Use a pH-neutral shampoo and a soft microfibre mitt
- Keep pressure-washer spray well away from film edges for the first few weeks, and at an angle after that
- Skip automatic brush washes
- Use only PPF-safe sealants and quick detailers
Small water bubbles or a slight haze right after install are normal. Most disappear on their own within days to a couple of weeks as moisture escapes through the film. Warm weather speeds this up. Bubbles with a speck of dust in the middle won’t go away by themselves, which is why prep matters.
How to fix a lifted edge
If an edge lifts in the first few days, it’s usually because water is still underneath or the panel wasn’t fully clean along that edge. Gently push it back down with a squeegee wrapped in microfibre, using a little tack solution if it won’t stay. A touch of gentle heat afterward helps the adhesive grab. If the edge keeps lifting after the film has cured, or there’s visible dirt along it, the cleaner fix is usually to replace that piece rather than fight it.
A few smaller mistakes
- Not dry-fitting first. Lay each piece on the car with the liner still on to check orientation. Many pieces look alike, and left and right are easy to mix up.
- Peeling the whole liner too early. On bigger pieces, peel as you go while spraying the exposed adhesive. Less adhesive exposed means less dust collected.
- Using tack solution in the middle of a panel. It’s for edges and curves once the piece is in place. In the middle it can lock in water and bubbles.
- Working in fading light. Most mistakes happen on the last piece of the day. Stop while you can still see clearly.
What a good install looks like
| When | What’s normal |
|---|---|
| Right after install | Some small water pockets, a slightly cloudy look in places |
| After a few days | Most small water pockets gone, edges sitting flat |
| After two weeks | Clear film, firm edges, no lifting. Ready for normal washing |
The takeaway
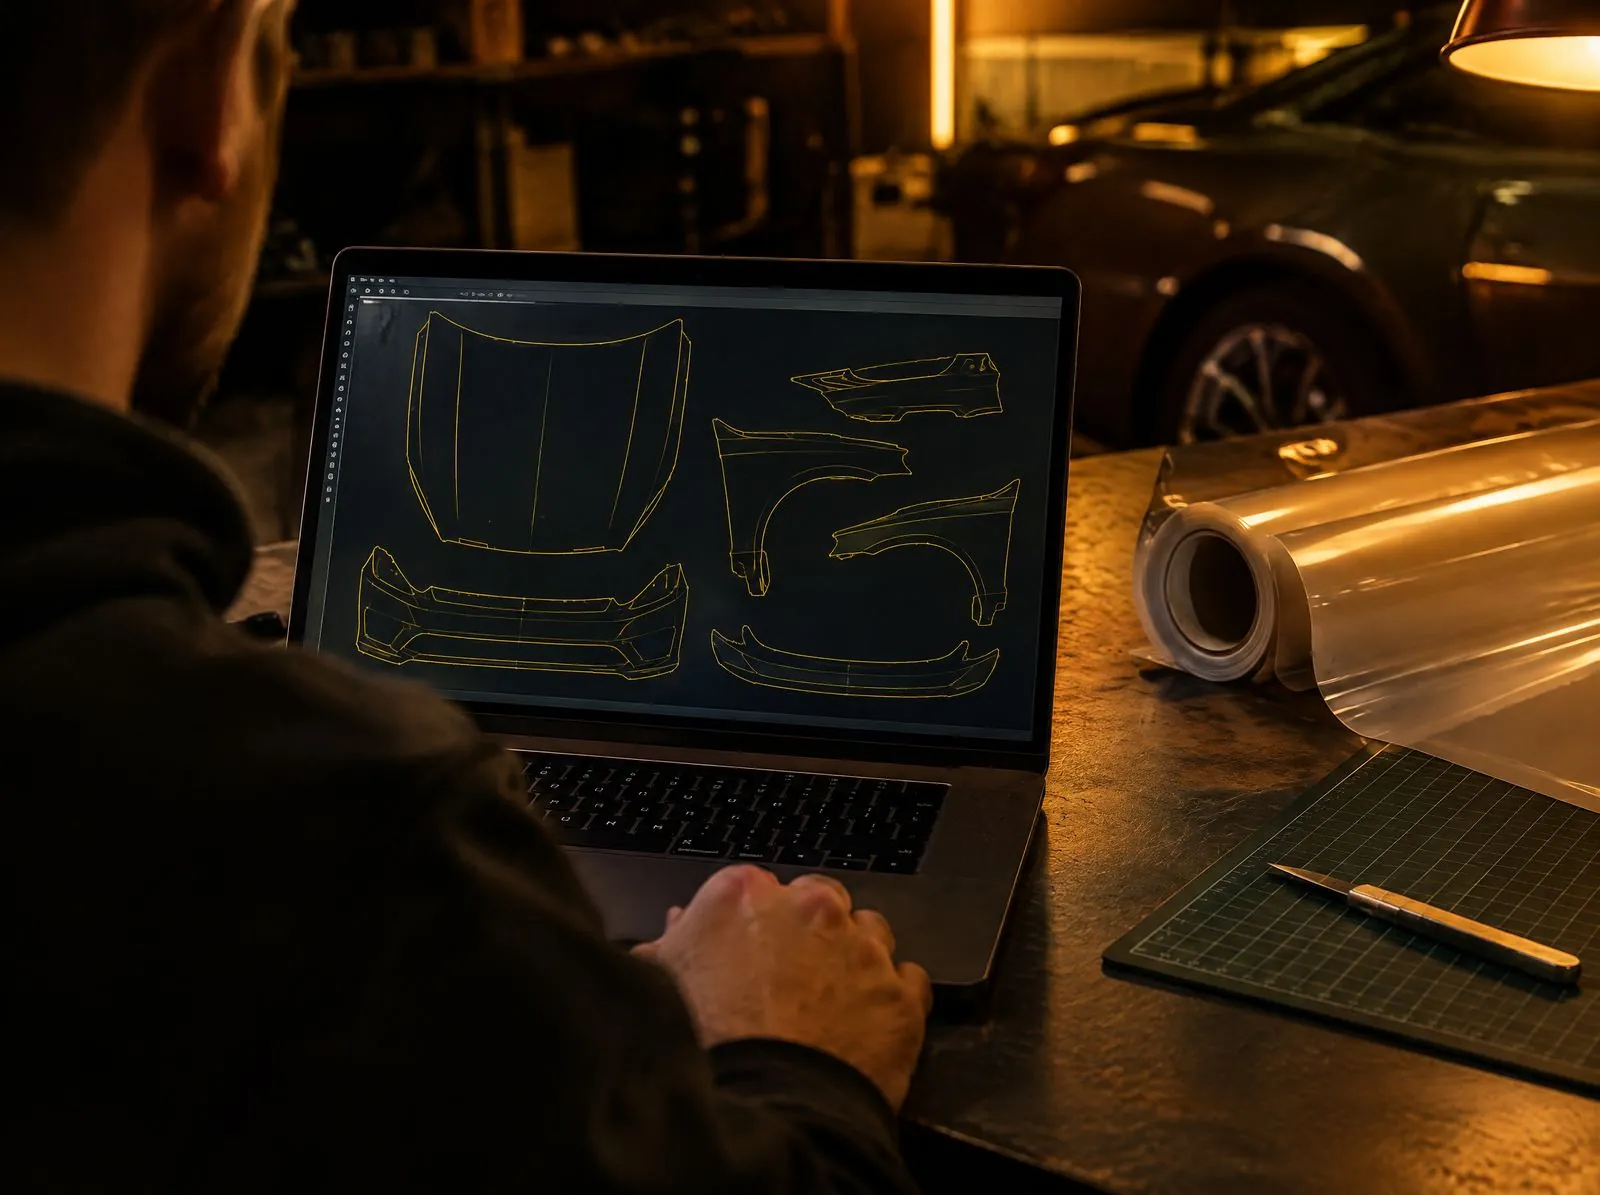
DIY PPF works when you slow down and follow the process. A pre-cut kit takes away the riskiest part, trimming film on the car, so you can focus on clean prep and careful placement. If you’re working outside, read installing PPF without a garage too.
Quick answers
Will bubbles in new PPF go away on their own?
Small water bubbles usually do, over a few days to a couple of weeks. Bubbles with dust or debris in the center won’t, and need the piece lifted and flushed while it’s still wet.
How soon can I wash my car after installing PPF?
Wait at least 48 hours, longer in cool or damp weather. For the first few weeks, hand wash and keep pressure-washer spray away from film edges.
Can I reuse a piece of PPF if I mess it up?
Often, yes, if you lift it while it’s still wet and the adhesive hasn’t folded onto itself. Spray plenty of slip solution and lift slowly. A creased or stretched piece is usually better replaced.
Find the right kit for your Tesla
Every KitCutz kit is pre-cut for your exact year and trim, and fitment is verified before you pay. Silver starts at $499 CAD, Gold at $699 and Platinum at $1,799.
Weighing up DIY kits? See how KitCutz compares.