Almost every install video you’ll find is filmed in a spotless garage under perfect lighting. Plenty of people don’t have that. Maybe you’re in a condo, or a townhouse, or your single garage is already full of bikes and a lawnmower. You can install PPF outdoors. It just takes more planning and better timing.
The short answer
Yes. A garage makes things easier, but calm air, shade, a properly clean car and patience matter more than four walls. Lots of clean installs happen in driveways.
What a garage actually gives you
- No wind
- No direct sun on the panel
- Less dust and pollen drifting around
- A steady temperature, ideally 15 to 25 °C
- Good, even lighting
Outdoors, you won’t get all five perfectly. The goal is to control as many of them as you can, and to choose your timing around the ones you can’t.
The three outdoor problems
Wind
Wind is the big one, because PPF goes on wet. A gust can flap a piece, blow grit onto the adhesive, lift an edge you just laid down, or fold the film onto itself. Adhesive stuck to adhesive usually means that piece is done. Check the wind forecast as well as the temperature, and pick a calm day. Early mornings are often the stillest part of the day.
Sun and heat
A panel in direct sun heats up fast, often well past the air temperature. The slip solution evaporates, the film grabs before it’s lined up and your working time disappears. Work in shade. A pop-up canopy helps a lot, and early morning or late afternoon beats midday every time. Quick test: lay your palm flat on the hood. If it feels warm, wait or move the car.
Dust, pollen and fluff
There’s dust everywhere, but outdoors more of it is moving. In much of Canada, late spring brings a heavy pollen season, and early summer brings cottonwood fluff in some neighbourhoods. A tiny speck on a lower panel usually disappears visually once the film settles, but it’s still worth keeping the adhesive covered until the moment you need it.
Picking the right day
In most of the country, late spring and early fall work best. Mid-summer works if you start early and stop when the sun reaches your spot. Outdoor installs in winter are a non-starter in most provinces: the adhesive stiffens, the slip solution can get sluggish or even freeze on a cold panel, and nothing wants to tack down.
- Calm or light wind for the whole window you plan to work
- Dry: no rain in the forecast for at least the rest of the day
- Mild: roughly 15 to 25 °C at the panel, not what the weather app says
- Low pollen if you can manage it
- Enough daylight that you won’t be rushing the last piece
Build yourself a temporary garage
You don’t need walls, but a bit of shelter goes a long way. A pop-up canopy with one or two side panels blocks both sun and wind. Weigh it down properly; a canopy that takes off mid-install is a bad afternoon. A carport, the lee side of a house or a spot between two buildings can do the same job.
If you live in a building with underground parking, that can be a surprisingly good option: no wind, no sun, fairly stable temperature. The lighting is usually poor, so bring a bright LED work light. Check your building’s rules first, since some don’t allow car work in the garage.
How to set yourself up
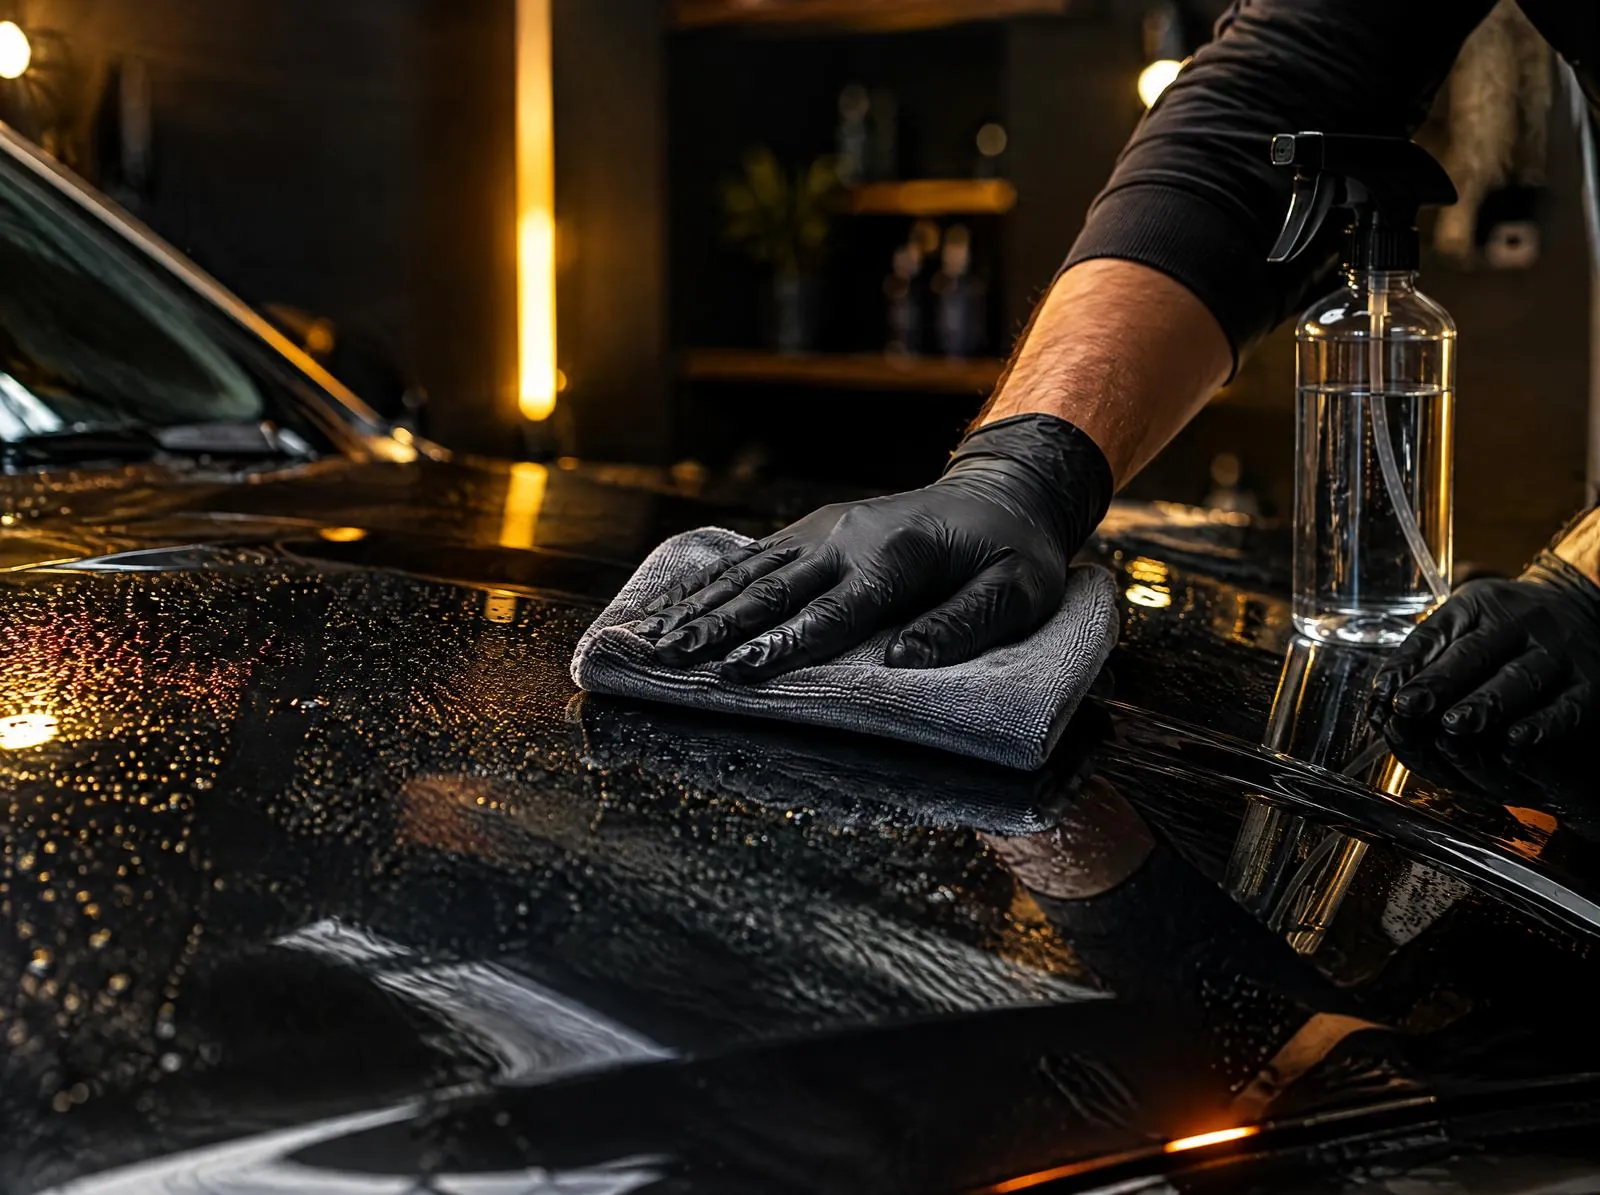
- Wash and decontaminate properly. Full wash, clay, then an isopropyl alcohol wipe-down. Our prep guide has the full routine.
- Pick your window. Calm air, cool panels and less dust usually line up early in the morning.
- Set up shelter. Canopy, carport or the sheltered side of a building.
- Give yourself a clean table. A folding table covered with a fresh sheet or clean cardboard keeps pieces off the ground.
- Work one panel at a time. Keep every other piece on its liner until you’re ready for it.
- Keep hands and tools clean. Rinse the squeegee often, keep a dedicated bucket of clean water for it, and don’t touch the adhesive side.
What temperature is too cold or too hot?
Aim for roughly 15 to 25 °C. Below that, the adhesive stiffens and edges don’t want to tack down. Above it, the water evaporates too quickly and the film grabs hard before it’s aligned. Remember that the panel temperature is what counts. A dark car in the sun can be far hotter than the air, and a car that sat out overnight can stay cold well into a spring morning.
Which panels are easiest outdoors
| Easier to start with | Save for a calmer day |
|---|---|
| Headlights | Front bumper |
| Mirror caps | Deep compound curves |
| Door edge strips | Large one-piece hoods |
| Fender pieces | Roof and large side panels |
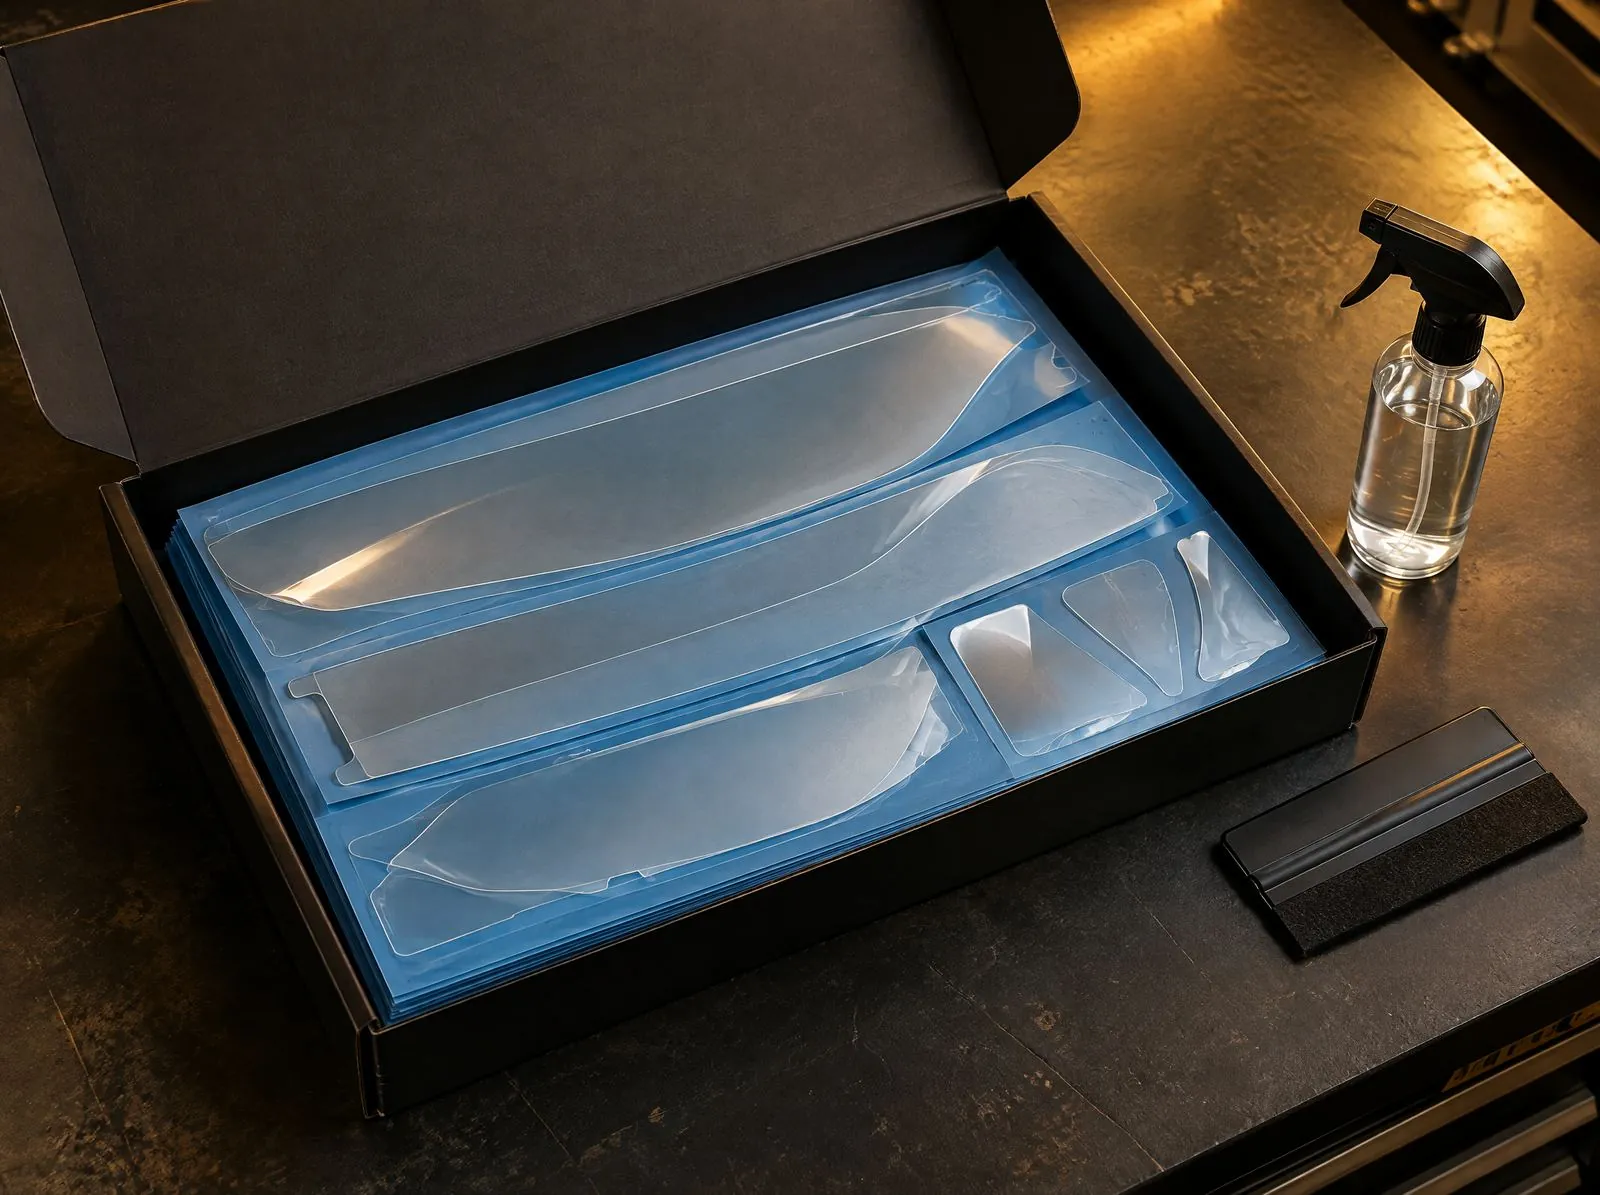
That’s one reason many first-time outdoor installs start with a Silver kit. The pieces are smaller and flatter, so wind has less to grab and you get used to the film before tackling anything big.
A sensible order for an outdoor install
- Headlights. Small, flat-ish and confidence-building.
- Mirror caps. A little curvier, good practice for stretching gently with heat.
- Fender pieces.
- The hood, ideally with a helper holding the far edge off the paint.
- The front bumper, on a separate calm day if you can. It’s the trickiest piece on most cars.
If the weather turns mid-install
It happens. The wind picks up, a cloud of pollen drifts over, or the sun comes around the side of the house sooner than you expected. Finish the piece you’re working on if you can do it calmly, then stop. Leave the remaining pieces on their liners and pick it up another day. A half-finished install with clean pieces beats a finished one with grit under the hood film.
If a gust lifts a piece you haven’t squeegeed yet, keep it wet. Spray more slip solution under the lifted part and lay it back down rather than trying to hold it in place dry. And if a piece folds onto itself adhesive to adhesive, spray it generously and try to separate it slowly; sometimes it can be saved, sometimes it can’t.
What if dust gets under the film?
Tiny particles are usually cosmetic and barely visible once the film dries. For something bigger, carefully lift the nearest edge while it’s still wet, flush underneath with slip solution and lay it back down. Don’t try to pick a speck out with a fingernail through a dry, half-lifted edge; that’s how film gets creased. Worst case, you replace that one piece, which is much easier when the kit is pre-cut to the same pattern.
The bottom line
You can absolutely install PPF without a garage. Calm weather, shade, a properly clean surface and patience matter more than four walls. And a small speck under the film still beats a chip in the paint, especially before winter or a long road trip.
Quick answers
Can I install PPF in the rain?
No. Rain dilutes the slip solution, carries dirt onto the panel and keeps edges from tacking down. Wait for a dry day, or work under solid cover.
Can I install PPF outside in winter?
Not in most of Canada. Cold panels stiffen the adhesive and stop edges from sticking. A heated indoor space works; an outdoor driveway in January does not.
How long does an outdoor install take?
For a first partial-front install, plan most of a day. Splitting the job over two calm mornings is often easier than one long session.
Find the right kit for your Tesla
Every KitCutz kit is pre-cut for your exact year and trim, and fitment is verified before you pay. Silver starts at $499 CAD, Gold at $699 and Platinum at $1,799.
Weighing up DIY kits? See how KitCutz compares.